Your wedding day produces hundreds, sometimes thousands, of photographs, yet most couples let them sit untouched in a digital folder or cloud account. Those images deserve better than a screen they get glanced at once a year on your anniversary. Turning your favorite shots into fine art for your walls transforms fleeting digital files into something you can walk past every day and feel something. This guide walks you through the practical decisions involved, from choosing the right images to selecting materials that will last.
Choosing the Images That Deserve Wall Space
Not every great photo from your wedding makes a great print. A photo that works beautifully on a phone screen can fall apart at a larger size if it lacks sharp focus, good lighting, or a strong composition. Start by narrowing your full gallery down to a shortlist of fifteen to twenty images before making any final decisions, since having options helps you compare emotional impact rather than settling on the first image that catches your eye.
Think about the story you want your walls to tell rather than just picking your favorite candid shots. A mix of wide establishing shots, close-up portraits, and small emotional details creates a more layered display than five nearly identical poses.
- Look for images with strong natural framing, like doorways, trees, or architectural lines
- Prioritize photos where facial expressions feel genuine rather than posed
- Check for sharpness by viewing the image at full resolution, not just as a thumbnail
- Consider black and white conversions for photos with distracting background colors
- Choose a few detail shots, like rings or flowers, to balance out larger portraits
Matching Print Size to Wall and Room
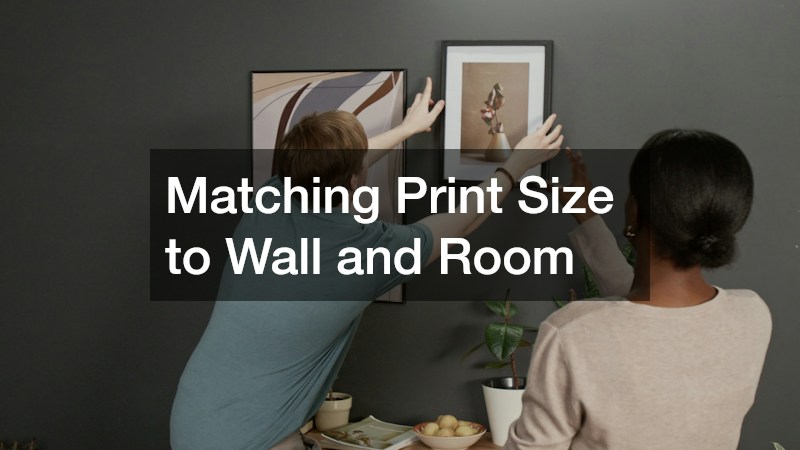
A common mistake couples make is choosing a print size based on the image itself rather than the wall it will occupy. Measure the actual wall space first, including the furniture beneath it, before deciding whether you need a single statement piece or a gallery-style arrangement of smaller prints. A large empty wall in a living room can support a piece as wide as four feet, while a hallway may call for a vertical arrangement of narrower prints instead.
Scale also affects how much detail in the photo actually reads at a distance. A softly blurred background might be invisible in a small print but become distracting once enlarged to a statement size. Before committing, it helps to view a mockup of the print at true size taped to the wall so you can judge proportion in the actual room.
Selecting Materials That Hold Up Over Time
The material you print on changes both the look and the longevity of your image. Canvas gives a soft, textured finish that suits romantic or outdoor wedding photos, while metal prints produce a glossy, vibrant look well suited to modern venues with bold colors. Fine art paper under glass offers the most traditional gallery feel and tends to show the finest detail in portraits.
Longevity matters as much as appearance, especially since wedding photos are meant to last generations. Ask about the archival rating of any material before ordering, since cheaper printing processes can fade noticeably within just a few years of sun exposure.
- Canvas prints work well in bedrooms and casual living spaces
- Metal prints suit contemporary homes with clean lines and minimal decor
- Framed fine art paper is ideal for formal portraits or entryways
- Acrylic face-mounted prints add depth and a slight three-dimensional feel
- Ask for UV-protective coatings if the print will hang near a window
Planning Ahead When You Book Your Photographer
The foundation of a great wall print actually starts before the wedding day even happens, during the conversation you have with your photographer about deliverables. Many wedding photography packages now include a set number of high-resolution digital files along with printing rights, but the resolution and file format matter more than most couples realize when it comes to large-scale printing. Ask specifically whether the files provided will be suitable for prints larger than sixteen by twenty inches, since some packages compress images for online sharing rather than physical reproduction.
It also helps to discuss your wall art goals with your photographer before the big day, so they can shoot with framing and negative space in mind for the shots you intend to enlarge. A photographer who knows you plan to print a three-foot canvas of your first dance will naturally leave more open sky or background room in that particular shot. This kind of upfront planning saves you from cropping awkwardly later.
Arranging Multiple Prints as a Cohesive Display
A single large print makes a strong statement, but many couples find more satisfaction in a curated gallery wall that tells a fuller story of the day. Grouping three to seven images together allows you to include the ceremony, reception, and quieter portrait moments in one cohesive display rather than choosing just one memory to represent the whole event. Consistency in framing, whether that means matching frame colors or matting styles, keeps a multi-photo arrangement looking intentional rather than cluttered.
Spacing and alignment matter more than most people expect when planning a gallery layout. Leaving two to three inches between frames generally reads as clean and organized, while inconsistent gaps can make the whole wall feel chaotic even with beautiful individual photos.
- Lay frames out on the floor first to test the arrangement before hanging anything
- Use a level and a paper template taped to the wall to mark hole placement accurately
- Keep the center of the arrangement at roughly eye level, around 57 to 60 inches
- Mix a few horizontal and vertical orientations for visual variety
- Limit color palettes to black, white, and one accent frame finish for cohesion
Turning wedding photos into fine art is less about spending money on a single expensive print and more about making thoughtful decisions at every stage, from image selection to material choice to final placement. Start small if you need to, perhaps with one meaningful print in an entryway, and build your collection over time as you find images that still move you months or years later. The goal is a home that reflects the day you promised forever to someone, not a folder of files you forget to open.